Bench Power Supply

I built a bench power supply from an old AT computer power supply I had laying around in the attic. I also made a custom enclosure for it. I let Sean pick what we would use to decorate the front of the supply - he chose Pikachu. The front panel was done on my laser engraver.

Desk Clock

I converted that Christmas countdown clock into a desk clock for my desk at work. The enclosure is made of some scraps of black walnut that I had laying around that were too small to make anything with, but too pretty to throw away. I also included a photo of the guts of the thing for the geeks among you.


Christmas Countdown Clock

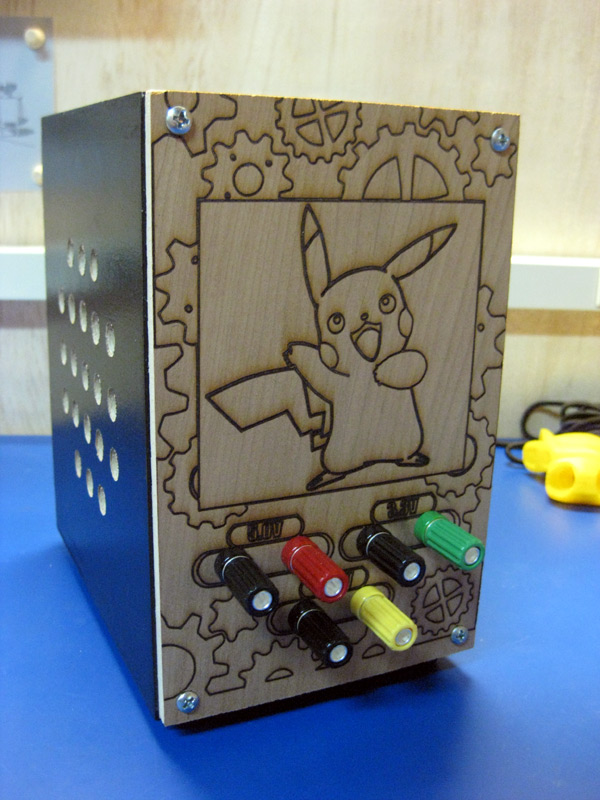
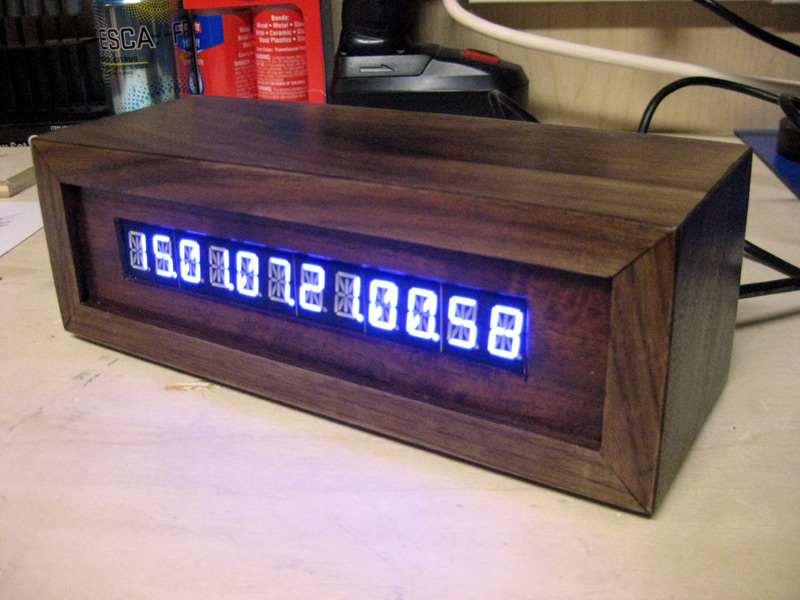
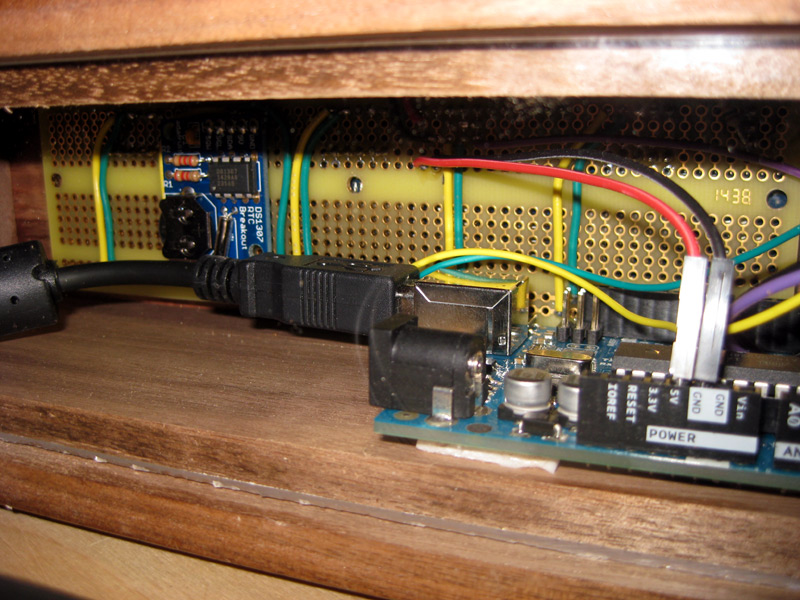
I built a Christmas countdown clock for the kids out of an Arduino, an RTC, and some seven-segment displays from Adafruit. It counts down to Christmas in "months.days.hours.minutes.seconds". It's also got some other modes - a countdown to Christmas in seconds, the current time in "year.month.day.hour.minute.second", the current time in Unix epoch seconds, and a "Chuck Norris" mode that occasionally spits out random Chuck Norris "quotes". After Christmas I am going to make a better looking wooden enclosure for this, and bring it to work to use as my desk clock.

Laser Engraver – Other Materials

I tried some other materials with the laser engraver this past weekend. I tried making some stickers out of some re-positionable sticker vinyl, and I also tried cutting some paper. Lighter colors of paper and any color of cardstock wouldn't cut, but darker colors cut just fine.


Makey Makey

Sean and I messed around with a Makey Makey kit on Sunday. For those who haven't heard of it, it's a little board that plugs into you PC and simulates a keyboard. But the part that makes it neat is that you can clip its leads onto anything even slightly conductive, and use those objects as keyboard buttons. So for example, the first thing Sean and I did was high-five each other in order to pause and resume YouTube videos. The next thing we tried was hooking up four bananas as up/left/down/right keys for a video game on the PC - at one point we were even using a whisk as a jump button!

Raspberry Pibot – Part 1

Sean and I have started working on a wheeled robot powered by a Raspberry Pi. Last weekend we finally got it to move! On Sunday we got the RPi mounted, and we also 3D printed a bracket to mount a couple of bump switches to. Currently, the Python code Sean wrote to control it will make it move forward until it bumps into something, then move backwards and turn before starting to move forward again. Pretty simple, but we've got to start somewhere!


Laser Engraver – Part 3

I ended up breaking the laser engraver body back down so that I could paint it. I've still got some old paint samples my sister gave me when she was figuring out what colors she wanted to paint the rooms in her new house. So I went with a jaunty green for the main body components, and a grey for the two sleds. Once the paint is dry I will put everything back together, put on the end caps I 3D printed in the previous entry, and get ready to start on the electronics!