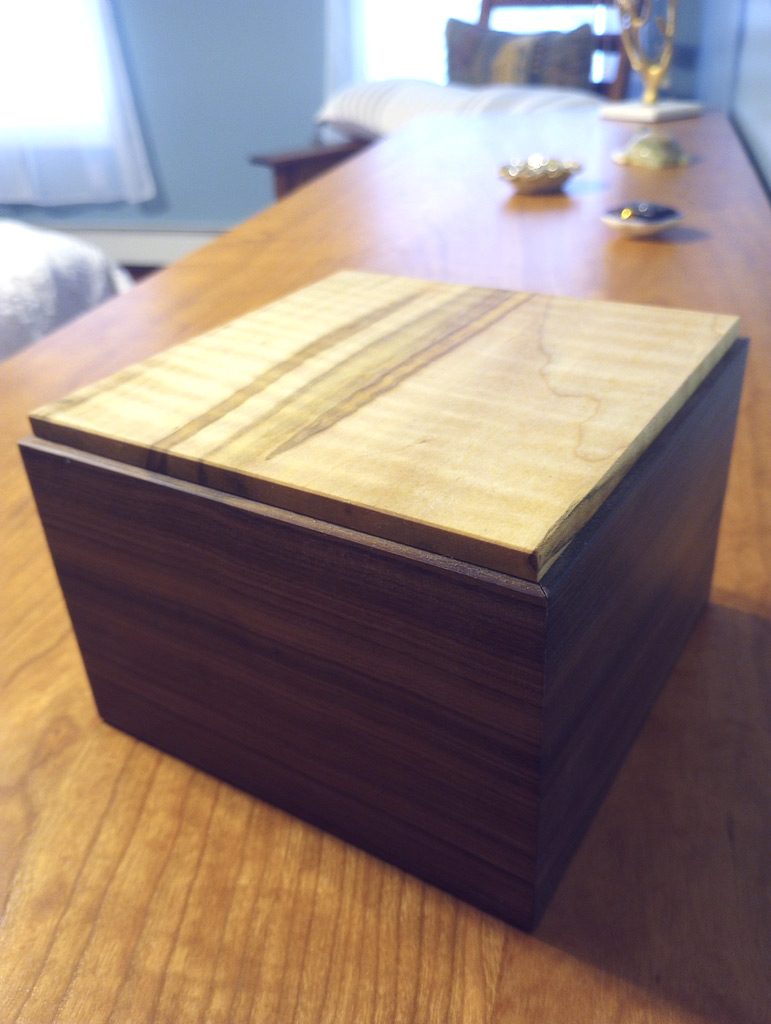
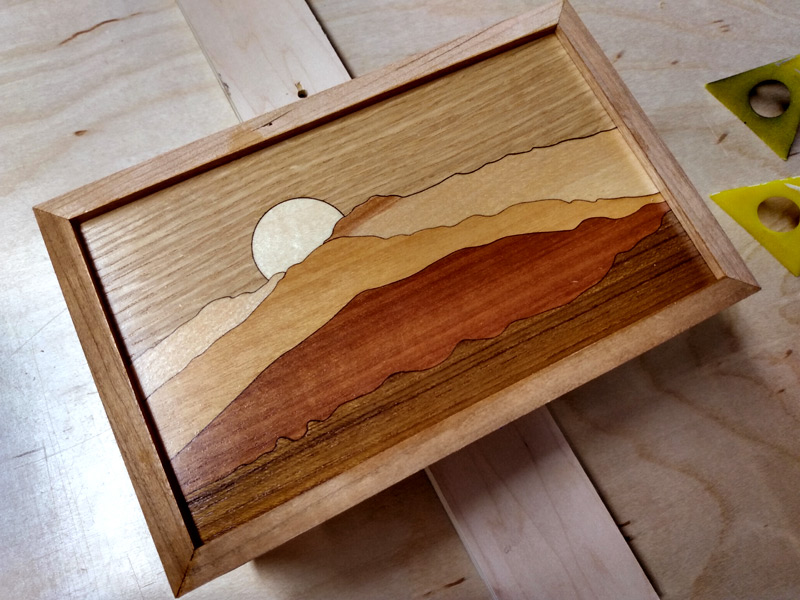
Rolling Toolbox From Bowling Alley Lane

I recently got a chance to get ahold of some slabs from old bowling alley lanes. As a first project just to get familiar with the material, I built this rolling toolbox for the workshop. The top is made of a chunk of the lane, and the drawer fronts are made from cutoffs of ambrosia maple from the bedroom set project. The lane material was interesting to work with - it isn't glued to together, only nailed. So it's a bit more 'wobbly' than you might expect. I ran screws up from the bottom in several places to stiffen it. Also, the old lane finish was very thick and tough as nails - I had to sand it off with a 50 grit belt on a belt sander. But once removed it sanded up nice and took some oil-based polyurethane well. At two and a half inches thick it should be able to stand up to some abuse as well!

Bedroom Dresser

This is the last piece of the bedroom set, and man am I happy to be done with that project! Between the bed, nightstands, bookcase, and dresser I think it took almost 5 months start to finish. The dresser is made of solid cherry, and the drawer interiors are made of ambrosia maple - just like the nightstands.

Clock Shelves

I built this set of knockdown shelves for my office at work, to hold all of my clock projects. It's made of Sapele, and built with tusked tenons so that it can be knocked down and moved easily. Now that I'm looking at this photo, I'm also noticing that there are at least three clocks on these shelves that I don't think I ever posted about here. I will try to grab some photos next time I'm in my office so that I can correct that oversight. :)

Bedroom Bookcase

Another piece of the bedroom set I've been working on. I condensed our original three cheapo bookcases down to this one built from solid cherry.

Beds and Nightstands

Last winter my Dad asked me if I would build him a bedroom set to replace his cheap store-bought one. I agreed, but told him that there were two conditions - it would have to wait until the fall, and I was going to build one for myself at the same time. For 20 years now, Lori and I have been using the same store-bought bedroom set we bought shortly after getting married. I've always wanted to build one myself to replace it, and my Dad's request finally lit a fire under me to do it. I built a queen size bed for him, and a king size for Lori and I, along with some nightstands for each. Everything is cherry, and the drawer interiors are ambrosia maple - and everything has received a finish of three coats of tung oil. Now we're just waiting the 3-4 weeks for the tung oil to cure before everybody can start using their new furniture. I've got more cherry coming to build Lori and I a bookcase and dresser to complete the bedroom set - should look great once the whole set is setup!

Stained Glass Cabinet

I recently purchased a starter kit for learning to do stained glass, and built this cabinet to hold all of the supplies. I painted the front of the cabinet in a design Carter used to use for her paintings, and I thought it looked a little like stained glass and would make for an interesting set of cabinet drawer fronts.

Laser Cutter Marquetry

I saw a video on YouTube where someone was using a laser cutter to cut veneer for marquetry, and made this as a proof of concept. It uses six different species of veneer, and I built the box out of cherry. I used a photo I took of Mt. Eisenhower and Mt. Washington from the summit of Mt. Pierce. It worked pretty well, and I think I'm going to try more projects like this in the future.

Poseable Lamp Guy

Carter once showed me a picture online of a lamp made to look like a poseable figure. It's been on my list of things to try for a while now, and I finally got around to making a couple. I really like how expressive it can be, even with only a few poseable joints.

Assembly and Outfeed Table

I built this large outfeed table for my table saw, and it can also double as an assembly table. There is lots of room for storage (I use the drawers for power tools and the center cabinet for a shopvac), and the top is about 2.5 by 7 feet - so there is lots of room to work. The top has about five coats of water-based polyurethane, to keep it nice and slick.


Workbench Toolbox

I've always planned to build a toolbox to go under my main workbench, to hold my most frequently used hand tools. I finally build one, and I think it came out pretty good. The body of the box is just painted birch plywood, but the drawer fronts are cherry.