Chef’s Knife

I made a small camp knife a few years ago, and have always wanted to try something bigger - like a kitchen knife. With all the free time I've had lately I decided to give it a shot. This knife is made from O1 tool steel, with a blade about 8 inches long. The handle is spalted hickory I milled from a tree that fell at our old house. The wooden sheath has rare earth magnets embedded inside, to hold the sheat on securely. The sheath is made from the same spalted hickory as the handle. After it's initial sharpening, it was sharp enough to shave the hair off of my forearm. Now we just need to wait and see how well it holds that edge.


Solenoid Engine

One of things I've tried to make on the metal lathe was this little solenoid engine. This video was taken during the process of building it - I have since cleaned it up and made it prettier. But it was cool just to see it move!


Metal Stock Drawers

Now that I'm starting to gather more materials for working with the metal lathe, I needed somewhere to store it. So I used some old plywood and pine to build this no-frills set of drawers to hold all my stock. I separated it by type (steel, aluminum, brass, etc.). I've still got a few empty drawers for the future.

Tailstock Die Holder

One thing I've been doing a lot of lately on the lathe is cutting threads. One trouble with cutting threads with a handheld die holder is keeping the die precisely perpendicular to the work - even something that looks perfect to the eyeball might be a degree or two off, which can be pretty noticeable when the surfaces don't make perfect contact when you screw them together. And it isn't like with wood, where you can force the joint a bit and crush everything together slightly to hide a slightly-off joint. So one solution to this problem is make a die holder that rides on the tailstock, to keep it both perfectly aligned with the axis of the lathe and perpendicular to the shaft being threaded. Over the past couple of weekends I've been making my old tailstock die holder, as you can see below. The tapered shaft on the left mounts in the tailstock, and the die holder (on the right) rides on the narrower half of the shaft (which isn't tapered). The narrow bar in the middle can be screwed into the body of the die holder if a little more torque is required. The recess at the end of the die holder is where the round dies are mounted when in use. The die holder was made from aluminum (to keep it light), and the rest of the parts are made of steel. This was my first experience turning steel. It went better than I expected, but I've got some reading to do to learn what cutting tool edge geometry works best for steel.

Burke #4 Milling Machine

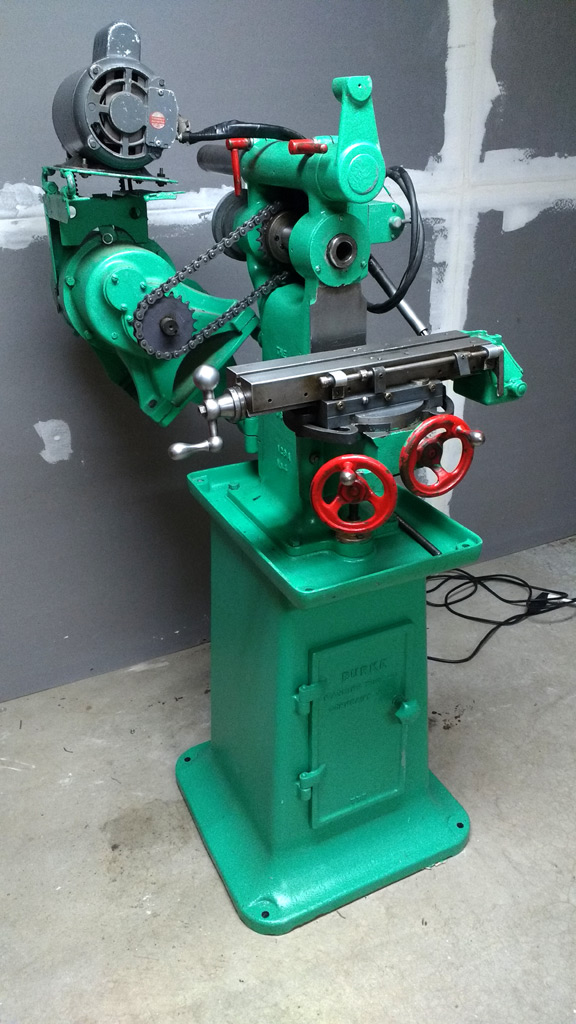
In the back of my head I had been planning to buy a mill sometime next year to grow my burgeoning new hobby - that was the soonest I thought I could justify the expense to myself, and I wanted to give myself time to make sure I would enjoy this work before I spent the money to tool-up the metal shop. But recently, while chatting with a friend in the office about the fact that I am getting interested in metalwork, another coworker mentioned that his mother was trying to figure out what to do with her husband's old milling machine. Apparently he used to restore old outboard boat motors, and had a lightly-used milling machine. I bought it from her for far less that a brand-new (and less capable) mill would have cost me. I got a great machine, and she got a good chunk of her garage back - win-win! It's a Burke #4 horizontal mill, and is quite a beast. It was built in 1942 and is about 600 pounds of American-made cast iron. To get it home, we had to take it apart - but even then, those parts were probably at least a couple of hundred pounds apiece! The van was definitely riding low on the trip back.

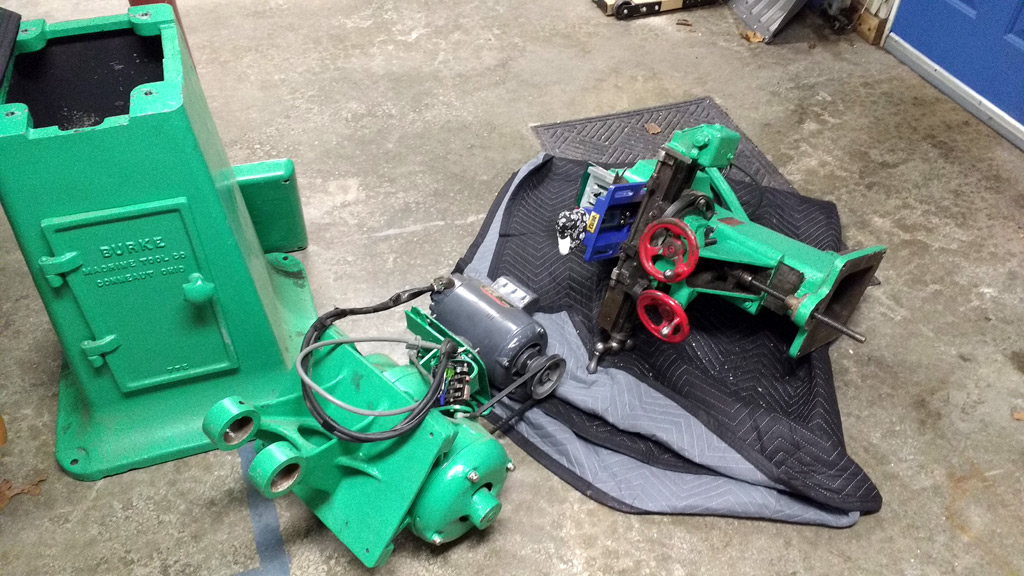
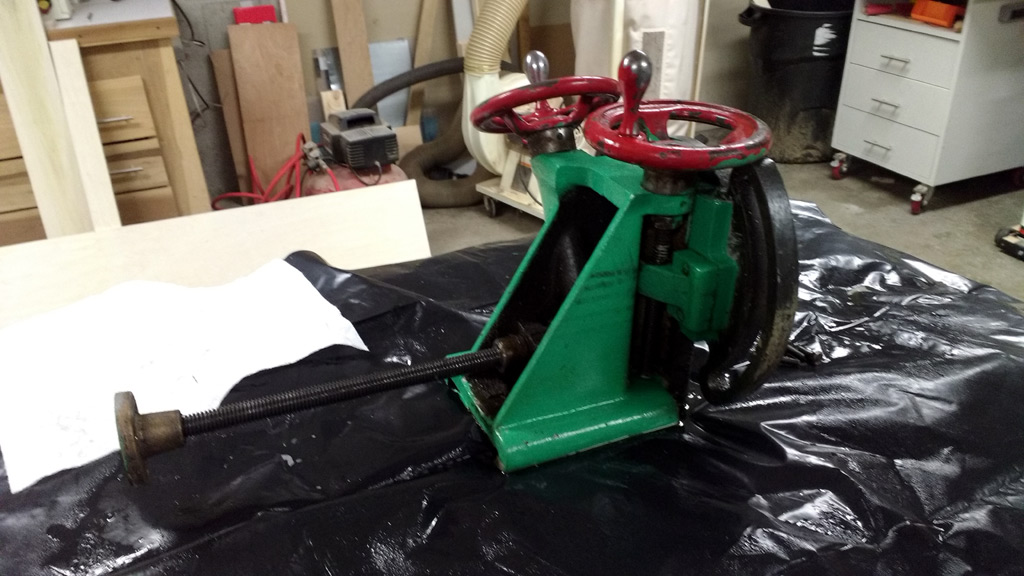
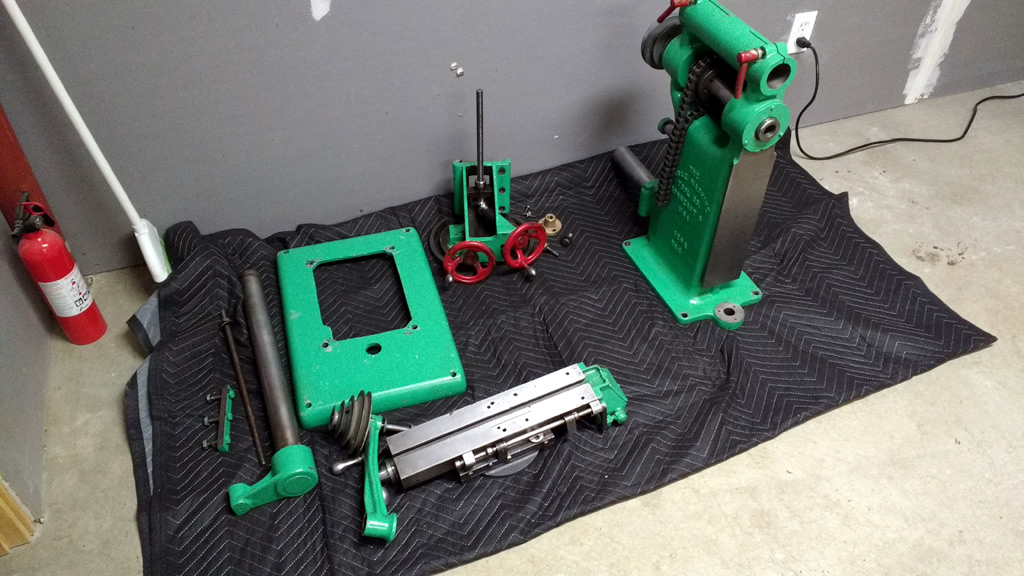
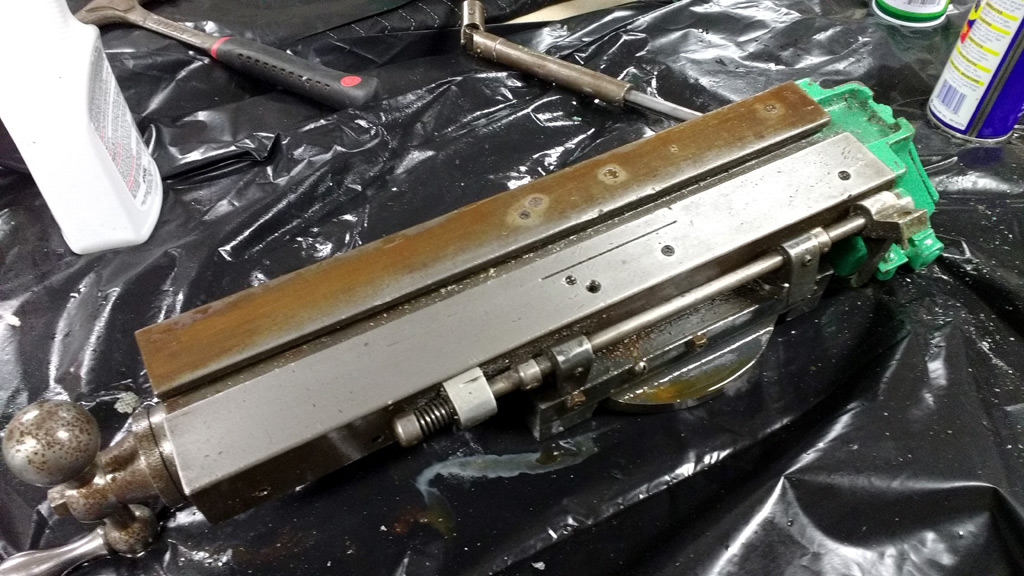
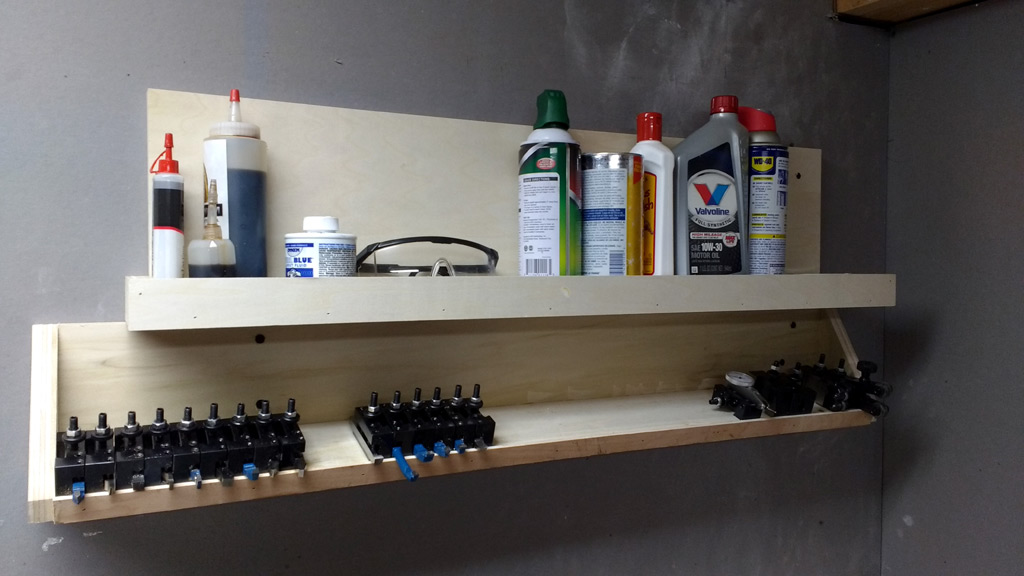
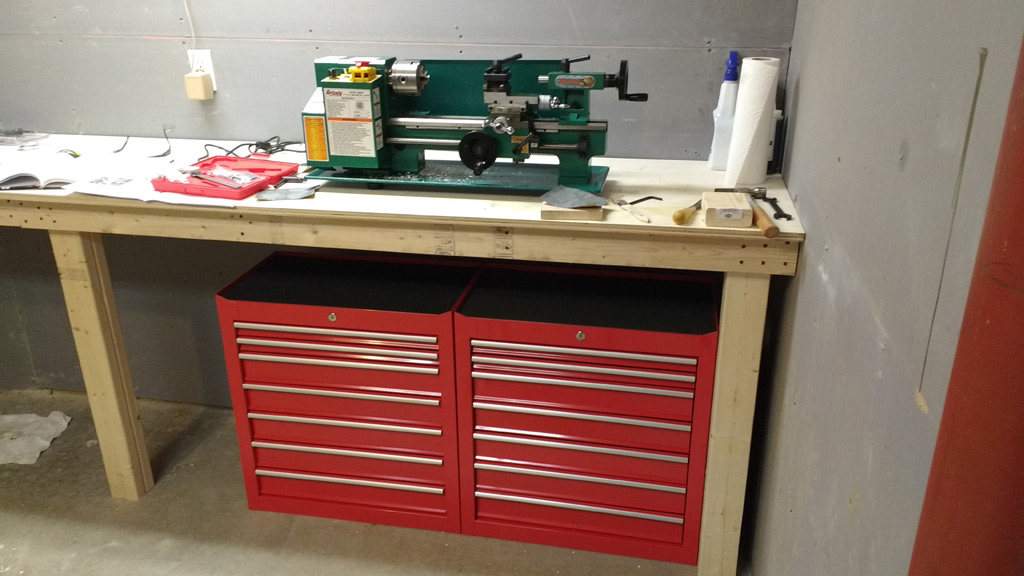
Once I got it home, I took it apart further into assemblies I could work with. Then I scraped and sanded out the rust on any of the metal-to-metal sliding surfaces. As you can see in the photo below, there was a good amount of surface rust that needed to be removed - but there was no deeper pitting - which was great news. Once I got everything apart, cleaned up, and oiled I put it all back together in the room I actually wanted it to end up in - which you can see in the top photo. I got it all wired back up and powered it up to make sure it still worked, and it started right up. I've tested all of the axes, and everything is moving smoothly with minimal backlash. I have yet to try and make any chips with it, but now that I've handled every part of the machine I feel like I've got a very good understanding of how it works and what I can do with it.

Lathe Shelf

Originally I was keeping all of my cutters in a drawer in the toolbox below the bench. But that became kind of a pain, because I needed to root around in that drawer every time I wanted to try a new cutter. I needed to get them up at eye level, so I could more easily see what I have - especially while I'm a newbie and have no idea which cutter I should be using for any particular operation. :)

Fire Piston

A couple of weeks ago I made a fire piston on the lathe, but forgot to post about it. For those who haven't heard of a fire piston, they are a way to start a fire without matches using adiabatic compression. When you compress the piston quickly, the air inside heats up enough to ignite a piece of tinder held is a slight recess at the end of the piston. This one was tough because the tolerances had to be just right to prevent air from escaping when the piston was compressed - I actually ended up having to make the piston twice - on the first one, the o-ring didn't quite seal the chamber. For materials, the main part of the handle is aluminum, the handle end cap is brass, and the piston is brass. It can't be seen from the pictures, but the top cap of the piston can be unscrewed to reveal a small storage compartment in the piston - this can be used to store extra tinder (char cloth, specifically).

Machinist’s Hammer

This weekend I made a machinist's hammer on the lathe. The handle and head are made of aluminum, and the two ends of the head are made of brass and Delrin (a machinable plastic). I had to learn some new techniques for this one, including tapping holes and cutting threads with a die. I've got a little bit to learn there, in terms of how to keep everything straight and lined up. I also learned how to get a better finish on aluminum - these have a sort of "brushed" finish, and look pretty good if I do say so myself. If I had to do it over again, I think I'd beef up the handle a bit more - it looks a bit delicate for that top. But I was struggling to figure out how to hold it to turn it down, so I kept making mistakes that I needed to turn off - so it just kept getting skinnier and skinnier. :)

Scribing Tools

First project on the metal lathe! This weekend I made a pair of scribing tools for use in the metal shop. They are made of aluminum with a sewing needle for a tip, and are used to scribe layout lines on stock. They should help me a lot on future projects. They gave me practice drilling holes, tapering (for the tips), knurling, and using the auto-feed for getting a good surface finish on the bodies. Although I still need a little practice on that last one - the surface looked a lot better when I used the auto-feed, but I still think it could be better.

Metal Lathe

One other great thing about the new house is a small finished room in the basement with a concrete floor, which I can use as a metal-working shop. I've wanted to get into machining for a while, but didn't have the space in the old shop to add any more tools - plus mixing a metal shop with a wood shop is a recipe for a fire once I start grinding or welding. So now this little room has a brand new Grizzly mini-lathe! I'm hoping to learn a lot about it, and maybe add a small benchtop mill to this room in the future. I'll bet this little lathe will be the source of many new project posts in the near future.