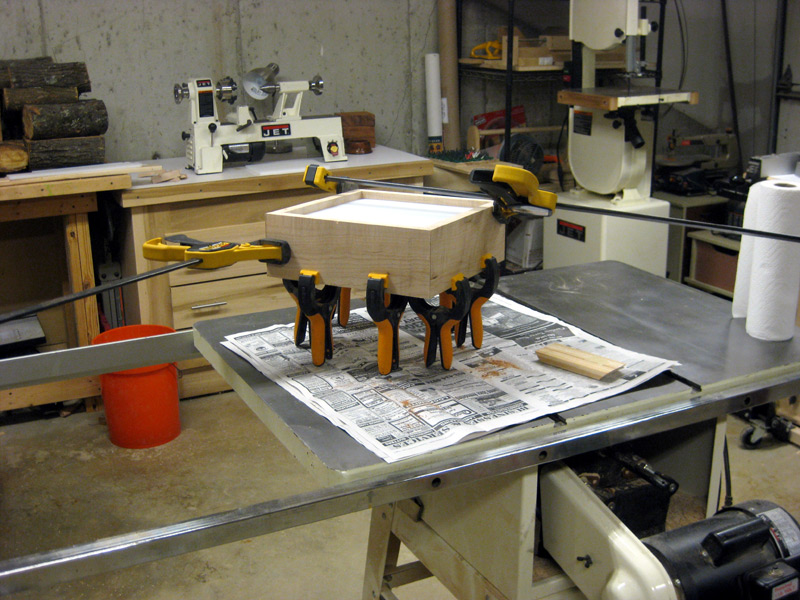
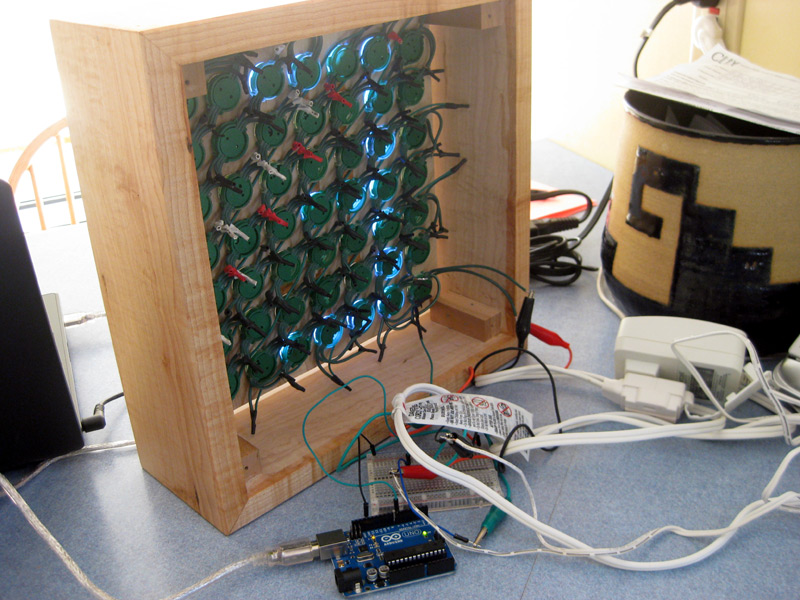
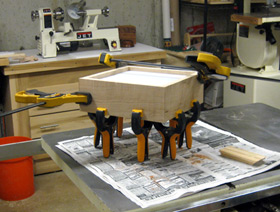
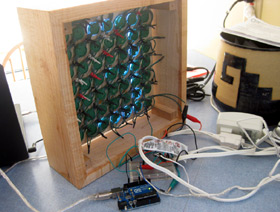
This past weekend I started working on the enclosure for the grid. I used some curly maple I'd had sitting around the shop for the last decade. :) It was a piece that has always been too small to make any furniture out of, but too nice to burn or throw away. So I made a nice little mitered box to hold the grid. For the diffuser to go in front of the LEDs, I borrowed an idea I saw online that actually ended up working perfectly - a white plastic cutting board. The enclosure got a coat of teak oil for a finish, which will later be followed up by some polyurethane - but I couldn't wait the three days for the oil to cure, so I mounted the grid in the enclosure to start playing around with it. In the right hand photo, you can see the enclose from the back (with the back panel removed). The Arduino is in the bottom center of the photo. Eventually, it will be mounted inside the enclosure as well, but I'm going to wait until after I get the polyurethane on before I mount it, just in case.
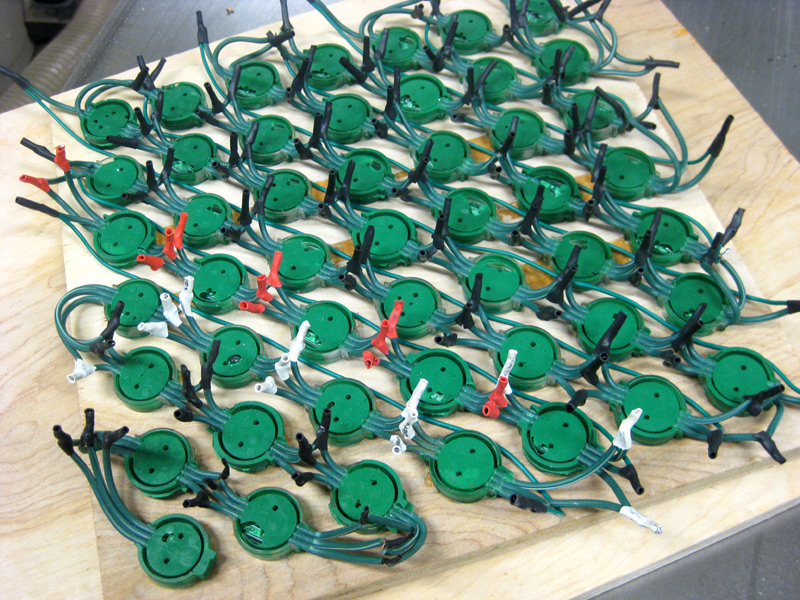
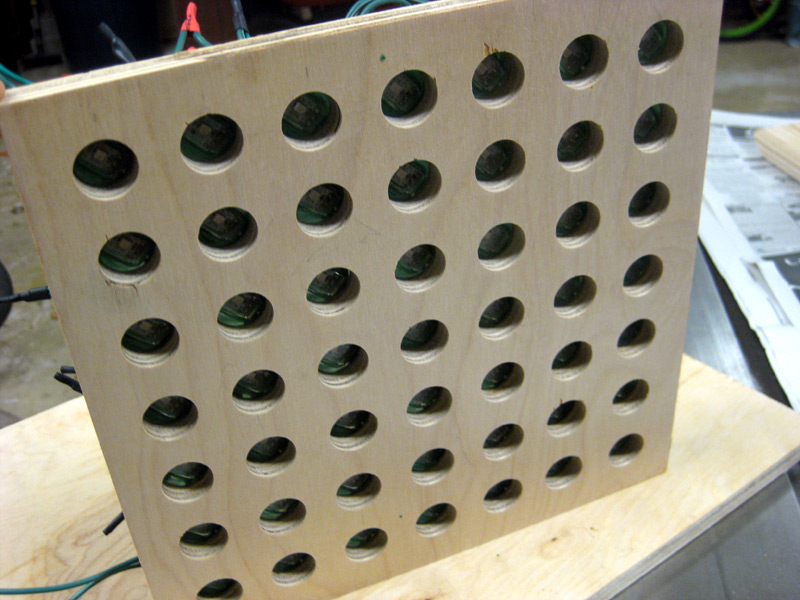
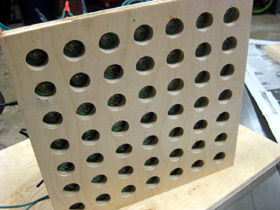
The first step on my new project was to cut up the original string of Christmas lights, rip off the bulb covers and mounting tabs, mount them in a piece of plywood drilled with a grid of holes, and wire everything back up. This is what I worked on for a few hours each weekend in February. After a few mishaps and bad connections, I managed to hook it all back up to the original controller (that came with them) and a new, beefier power supply (that could drive both of the 25-light strings I had spliced together).

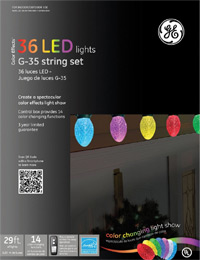
I've started a new project at home for fun. I've wanted to start playing around with an Arduino microcontroller for a while now. A few months ago, I came across several online projects (like this one and this one) involving using the Arduino to control a new style of Christmas lights made by GE. This Christmas lights are composed of a string of RGB (red-green-blue) LED modules that can be used to create any color of the rainbow. Each LED module on the string is individually controllable, and the stock remote that comes with the lights can only do a dozen or so patterns - and most of them are fairly boring. So - similar to the link I mentioned about - I want to cut up a string of modules and arrange them in a 7x7 grid, build a nice wooden enclosure for them, and display various pattens on the grid based on different events. For example, maybe I could make fireworks on the display when I receive an email. Stay tuned for future posts - I've actually gotten a little ways on this project, I just haven't gotten the photos together yet.
Well, it's been a few months since we started using the HTPC, and the verdict is in - we love it. It passed the wife-acceptance-test, which is the critical tipping point for any geeky husband to get one of his projects into the living room. It's funny though - we are using it differently than I had anticipated. Originally, I figured that the features we would use the most would be games (for me) and movies (for Lori). But it turns out that the feature that gets the heaviest workout is recording shows for the kids. We has actually turned out to be a lifesaver for our bedtime routine - I could only have watched the same dozen or so "goodnight shows" so much longer before I would have snapped. Now, we've increased the size of our library of kid's shows dramitically. But the feature that Lori and I are having the hardest time adjusting to is the fact that we can pause live TV. It must just be all those years on conditioning - we still wait for commercials if we need to get up for something. And on the very rare occasion that we do remember that we can pause, we both feel so high-tech and futuristic, even though any redneck with a TiVO has been doing this for a long time.
I've recently started putting together an HTPC to go along with our new LCD TV. It's only about half-finished, but people have been asking me lots of questions about it. So I thought I'd put together a post that explains a little about it, so I'd have some explanation and pictures to share with those who ask. Basically, an HTPC (
Home
Theater
Personal
Computer) is a PC that is connected to your TV, that runs user-interface software that allow you access to a comprehensive set of features. To find out more about it and to see some pictures of it in action, hit the "read more" link below (I didn't want to clutter up the front page of our blog with all the pics).
Continue reading “HTPC – Features”
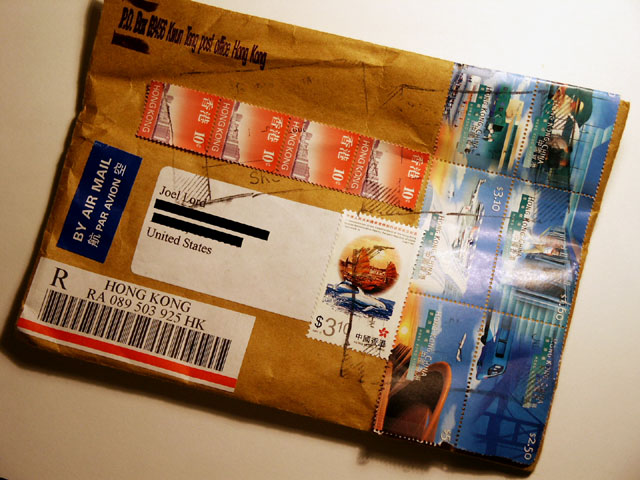
I recently bought some super-bright blue LEDs on eBay, in an attempt to get some brighter LEDs for my PWM lighting project without breaking the bank. When the package arrived, it was covered in Hong Kong stamps. When I had purchased them, I guess I just didn't notice where they were coming from. Not that it would have made any difference - but it was a cool surprise to get this envelope and to realize that it had come to me from halfway around the world. I took a couple of pictures of the envelope to share with everyone.


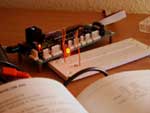
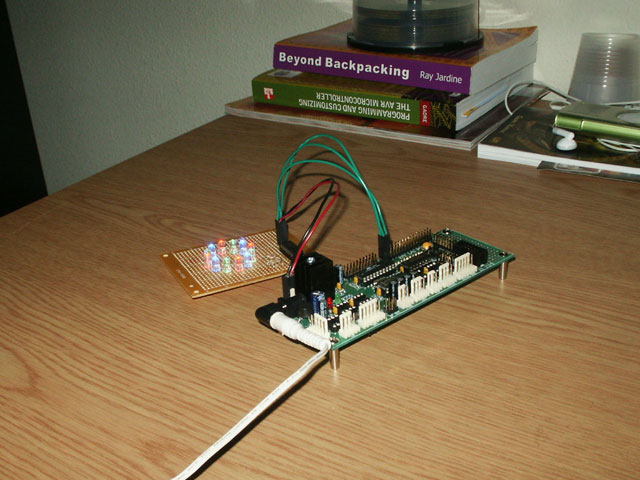
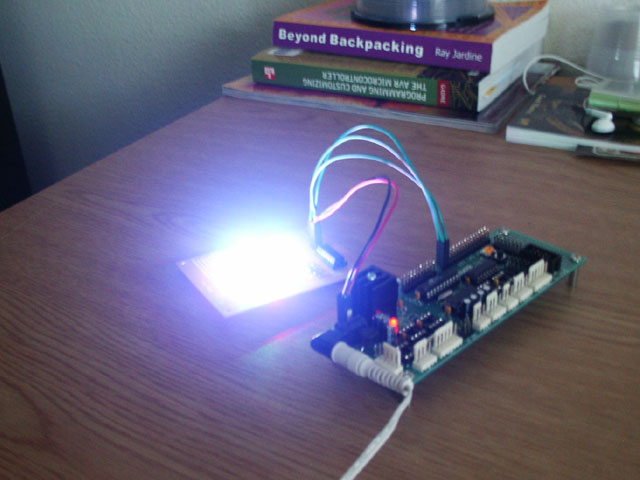
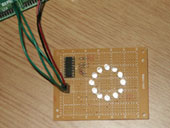
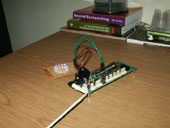
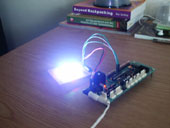
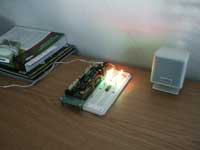
Finally got my box from Mouser, and started building up a prototype lighting module for this project. You can see a picture of the module in the first photo. It's basically 12 super-bright LEDs (4 red, 4 green, 4 blue) arranged in a circle, with a ULN2003A, ballast resistors, and a six-pin header for connecting to the main board. I'm not planning to show you the bottom, as it was my first real soldering attempt and it ain't pretty. :) I still have to write some code to allow me to communicate with this thing via RS-232 so I can change the color settings on the fly - so I haven't really tested its color range at all. But I am finding that the colors don't blend particularly well (although it's hard to tell, because the only color I've tried so far is 'white' - i.e., all LEDs on at full intensity). I've seen other projects on the web that do this kind of blending, and most of them don't seem to be having this problem. I'm not sure, but I suspect it may be because these particular LEDs have a pretty narrow viewing angle, so the light doesn't really spread out much, which is limiting the blending. Hmmm.... will have to do some experimenting soon. The last picture is with all LEDs at full intensity, but it's a little misleading. The colors don't actually blend as well as it looks like in the photo.
I've been super-busy at work lately, and haven't had much time for personal projects. But I have managed to spend a tiny bit of time here and there working with that AVR development board. I've got it controlling 8 super-bright LEDs (4 green, 4 red). The code I've written uses PWM (pulse width modulation) to control the intensity of the LEDs. I'm going to use this method to try some interesting projects using color-blending from red, green, and blue LEDs. I'm pretty much stuck right now though - I am waiting for an order from Mouser to get here. By the way, for you other folks using AVRs - where are you getting them from, and which AVR are you using? I'm having trouble finding anywhere that I can still get the 2313 that is on this development board. Do they make them anymore?
I just got an Atmel AVR microcontroller development board in the mail, and have started playing around with it. Hobbyists use these for all kinds of things - from robotics, to data acquisition devices, to lighting modules, etc. Just Google "AVR projects", and you will see what I mean. I've been interested in learning about using microcontrollers for quite a while (ever since Dirk starting building a robot with them in 2001), but for some reason I just haven't buckled down and -tried- them yet. Last night I managed to write code and wire up a circuit to light a single LED. This would be the equivalent of a "Hello World" program in another programming language. It's a humble beginning, but I've already got ideas for lots of cool projects I can build with this thing!