Laser Engraver – Part 2

Got another chunk of time to work on the laser engraver recently. Both the y-axis sled and the x-axis gantry are now built. I also 3D-printed some covers for the holes that the bearing shafts are mounted in, to be sure the shafts can't pull back out of the holes when things are moving. Next up is to mount those covers, and then possibly paint the whole thing (still on the fence about that) before I start trying to wire up the electronics.


Laser Engraver – Part 1

I started working on a home-built CNC laser engraver this weekend. I ordered some parts weeks ago - stepper motors, shaft couplers, etc. I've been doodling plans for the machine for the last week, trying to get the dimensions down. This weekend I got over the mental roadblock keeping me from starting, and finally started building. I got the base built, and started the y-axis sled. I need to add the center section that will house the nut for the threaded rod that will move the sled. Then it's on to the gantry!


Pandora Radio – Final

Finished up the Pandora radio yesterday - I installed a clear plexiglass back, and finished up the software changes I needed to make. Now I just need to find a permanent spot for it down in the shop! I might need to add another shelf somewhere.


Pandora Radio – Part 7

Here's a shot of the final hardware configuration of the radio - from a hardware perspective, I'm nearly done! Still to do is to make some retaining pins for the knobs, and to make a clear plexiglass back for the radio - so that anyone interested can get a look inside at all the gadget-y guts! I've still got some software work to do - I need to get the scripts I've written to start at bootup. But I'm also having a slight problem with pianobar - the current tip version of pianobar fails after playing one complete song. If I skip songs before one finishes, it keeps playing fine. But if I let one completely finish, the stream just stalls. Luckily for me pianobar is open source, and not a huge codebase - so hopefully I can figure out what's going wrong on my own.


Pandora Radio – Part 6

I recently got the radio's original buttons working with the Pandora radio. I built a little board to go below the switch assembly, with some microswitches located under each of the steel legs of the button assemblies, and then wired everything up to a 26 header so that I could connect it up to the Pi. I forgot to take a picture of the top side of the board before I permanently mounted it inside the radio, so you'll have to live with only a bottom-side photo. :)


Pandora Radio – Part 5

I got the LCD working over the long weekend. It fit the hole perfectly. There wasn't going to be enough room at the top of the case to mount the whole LCD / LCD driver board / Raspberry Pi stack up there without interfering with the operation of the radio's original buttons. So I mounted the driver board and the Pi to the bottom of the case, but ran leads up to the LCD at the top. From a software perspective, I've got the LCD displaying the track name and artist when the song changes, and I will probably setup one of the buttons to allow you to cycle through the backlight colors for the LCD.


Pandora Radio – Part 4

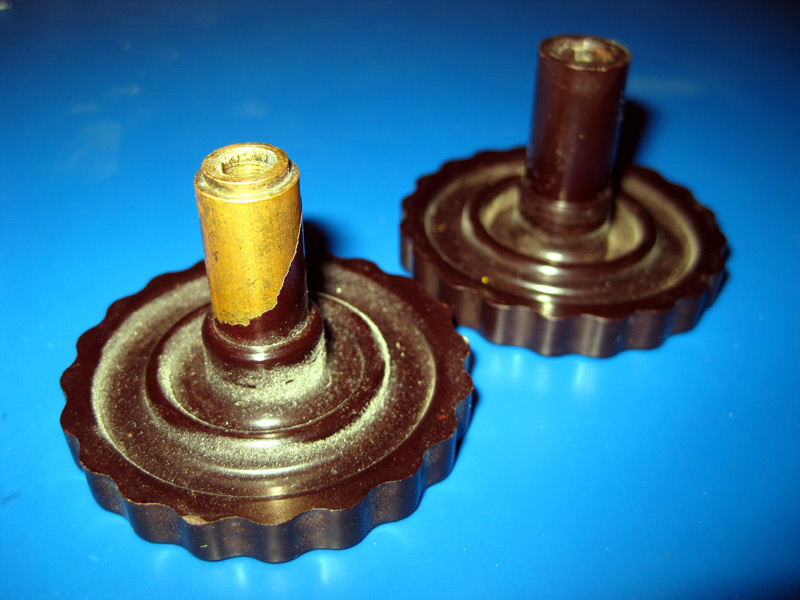
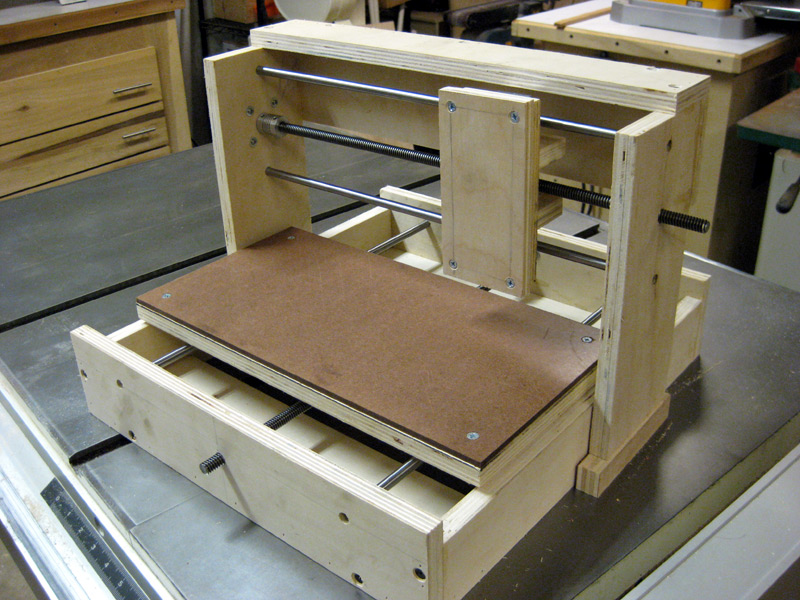
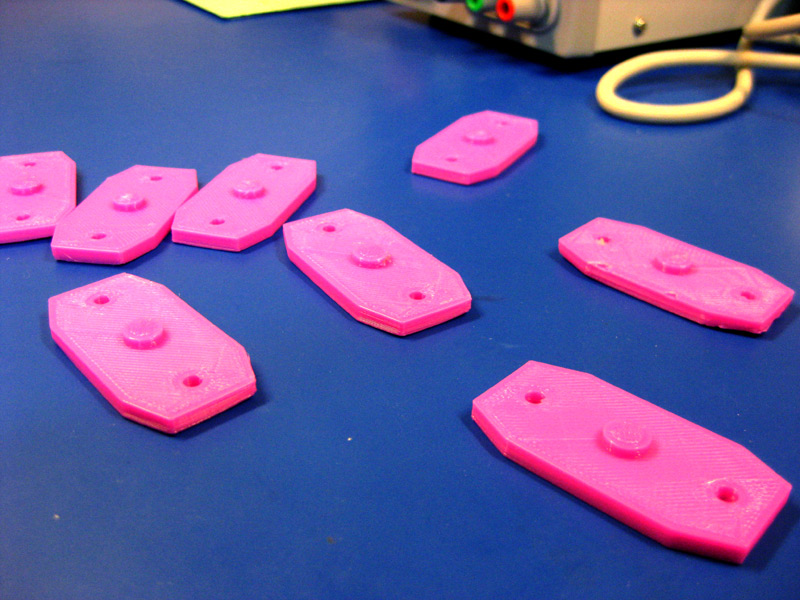
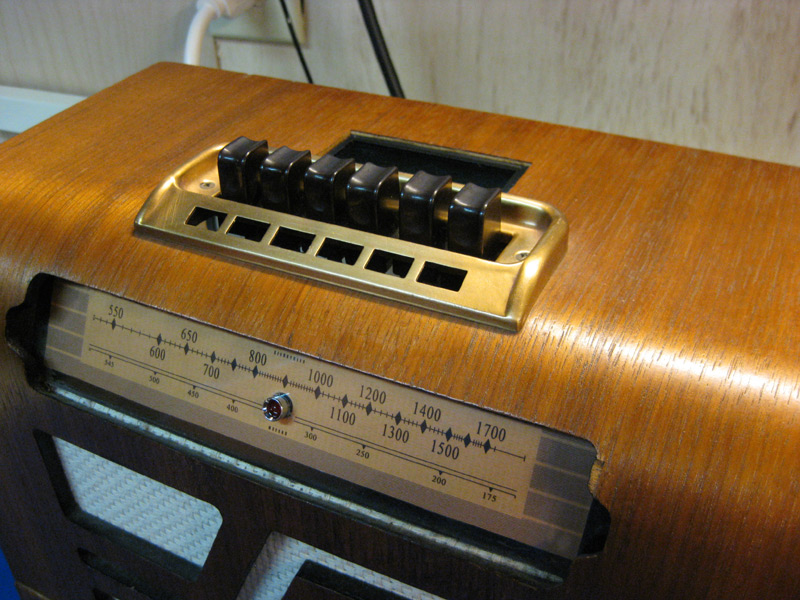
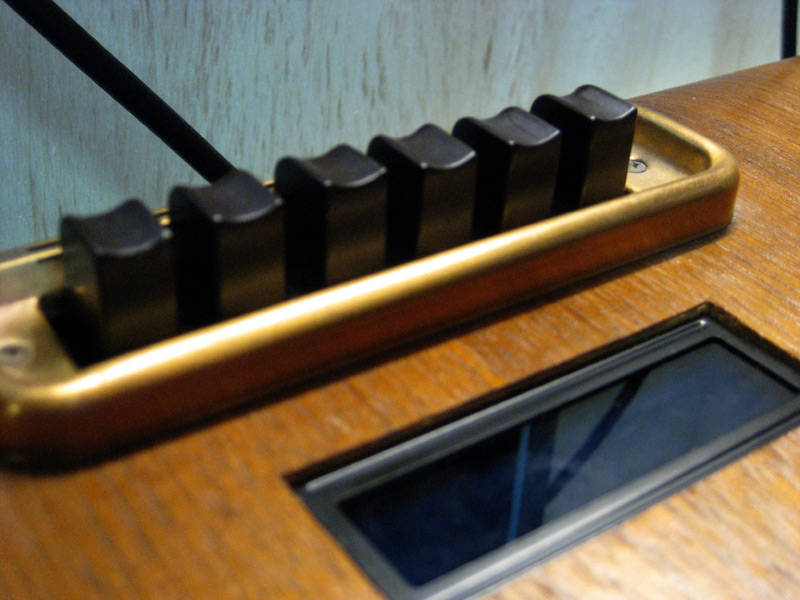
The photo didn't come out so great, but here's an update. The bushings I 3D printed worked out pretty well. It took a few tries to get the tolerances correct, but once I dialed them in they were a perfect fit. I still need to drill some holes in the knob shafts so I can add some sort of retaining pin to keep the knobs captured.

Pandora Radio – Part 3

Next up are the knobs. I am planning to reuse one of them as a volume control - I'm not sure if the other will just be for show. The knob shafts don't fit tightly in the holes in the case, so I am going to 3D print some bushings for them. Below is a video of the 3D printer in action!


Pandora Radio – Part 2

One of my first steps was to cut an opening behind the button area for a 2-line LCD from Adafruit that I'll use to display the artist and song title. I started by scoring the veneer with an exacto knife, then drilled some holes carefully and used a jig saw to cut out the rectangle. I filed the wood back to the scored line until the opening was exactly the right size for the LCD. The control board for the LCD will be mounted as a daughterboard on the Raspberry Pi I will used to run the whole thing.


Pandora Radio – Part 1

Years ago I bought an old Philco 39-17T tabletop radio with the intent of converting it to a slave set of speakers for attaching an external mp3 player. That project lingered a long time, and I never quite got around to it. Here are some pics of the original radio when I bought it. The outside was a little beat up, but repairable - but the inside was trashed.


And here are some photos or the restored shell of the radio. I refinished the case, replaced the grill cloth, and spray-painted the metal escutcheon plate. I've gutted the inside in preparation for the new innards.