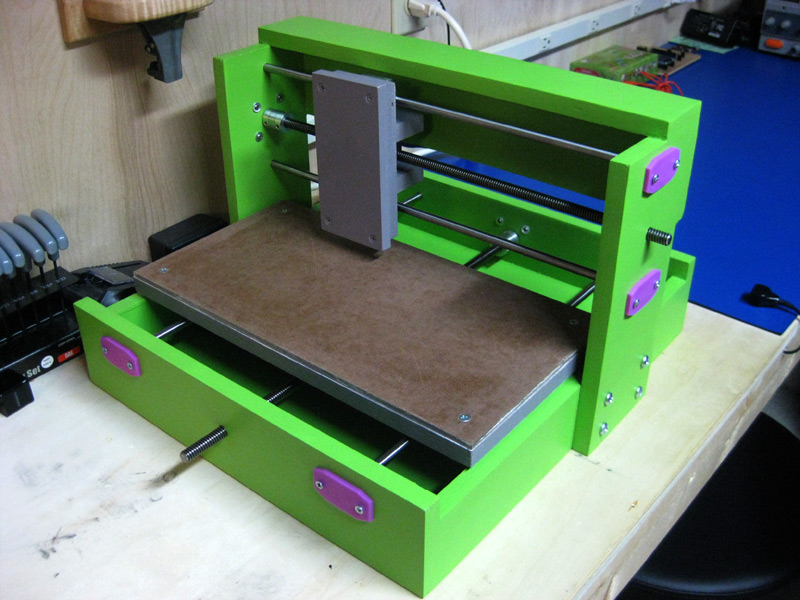
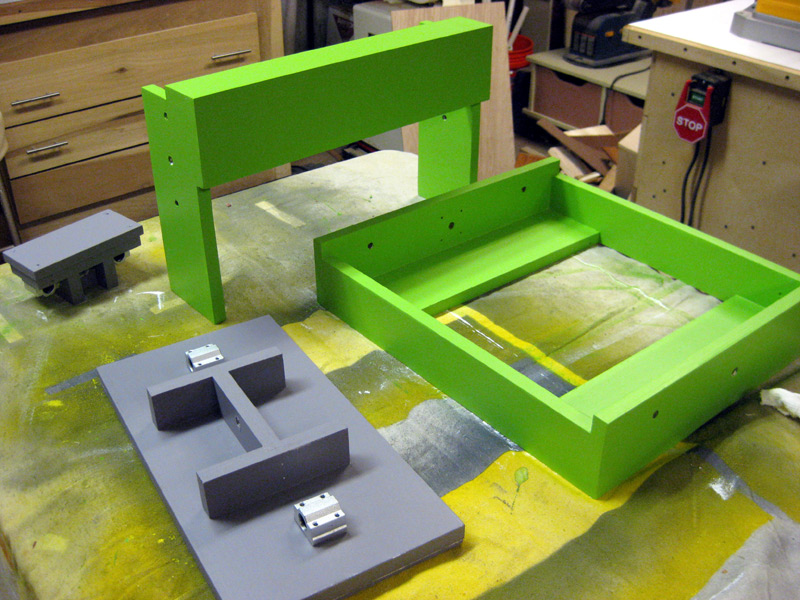
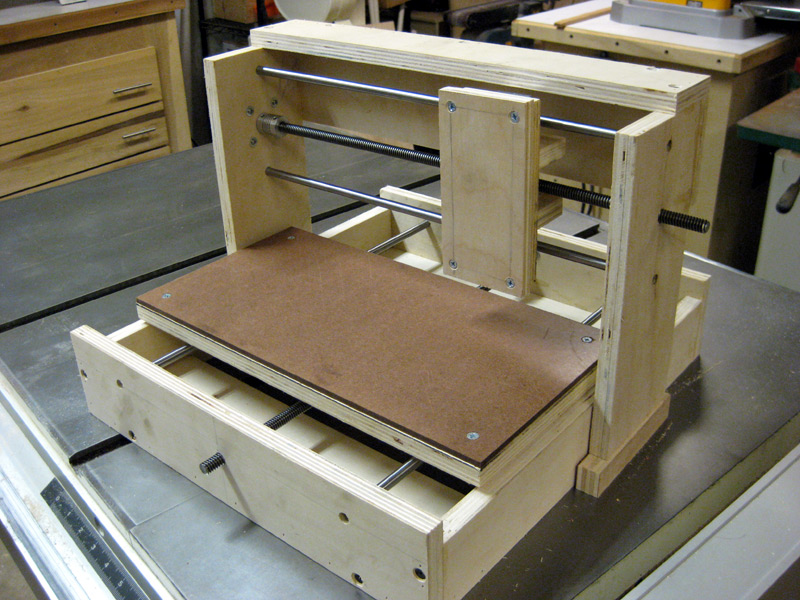
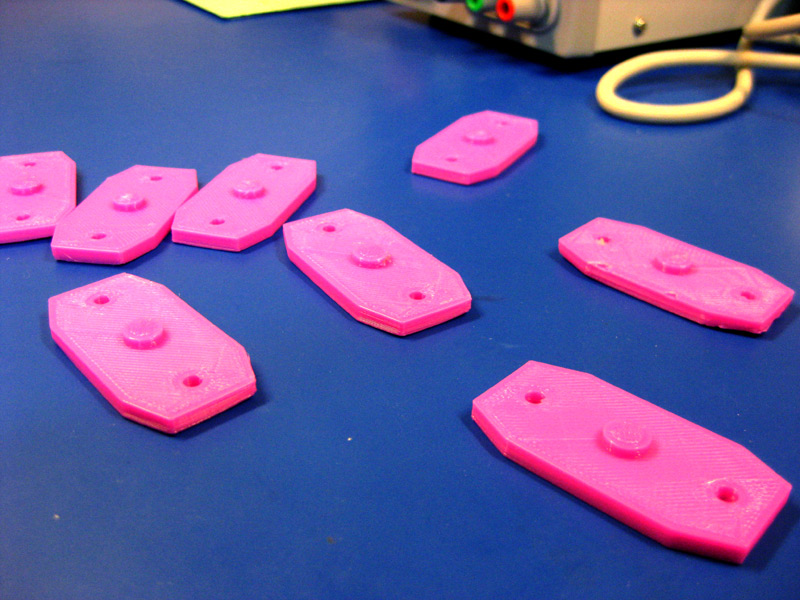
Makey Makey

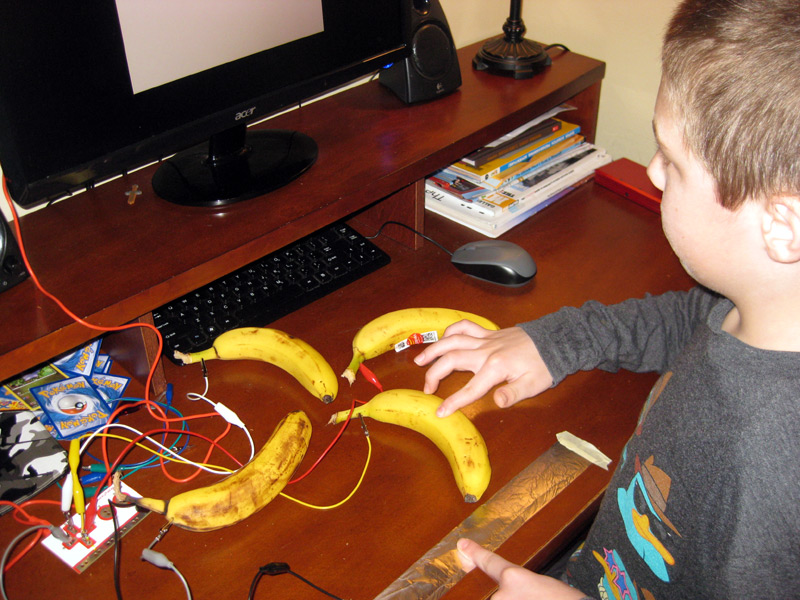
Sean and I messed around with a Makey Makey kit on Sunday. For those who haven't heard of it, it's a little board that plugs into you PC and simulates a keyboard. But the part that makes it neat is that you can clip its leads onto anything even slightly conductive, and use those objects as keyboard buttons. So for example, the first thing Sean and I did was high-five each other in order to pause and resume YouTube videos. The next thing we tried was hooking up four bananas as up/left/down/right keys for a video game on the PC - at one point we were even using a whisk as a jump button!

Raspberry Pibot – Part 1

Sean and I have started working on a wheeled robot powered by a Raspberry Pi. Last weekend we finally got it to move! On Sunday we got the RPi mounted, and we also 3D printed a bracket to mount a couple of bump switches to. Currently, the Python code Sean wrote to control it will make it move forward until it bumps into something, then move backwards and turn before starting to move forward again. Pretty simple, but we've got to start somewhere!


Laser Engraver – Part 3

I ended up breaking the laser engraver body back down so that I could paint it. I've still got some old paint samples my sister gave me when she was figuring out what colors she wanted to paint the rooms in her new house. So I went with a jaunty green for the main body components, and a grey for the two sleds. Once the paint is dry I will put everything back together, put on the end caps I 3D printed in the previous entry, and get ready to start on the electronics!


Laser Engraver – Part 2

Got another chunk of time to work on the laser engraver recently. Both the y-axis sled and the x-axis gantry are now built. I also 3D-printed some covers for the holes that the bearing shafts are mounted in, to be sure the shafts can't pull back out of the holes when things are moving. Next up is to mount those covers, and then possibly paint the whole thing (still on the fence about that) before I start trying to wire up the electronics.