Emulation Station

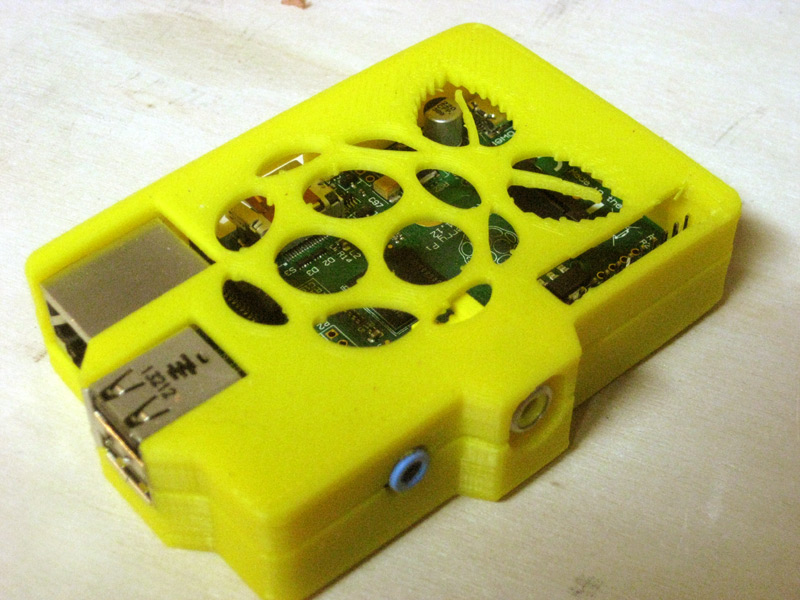
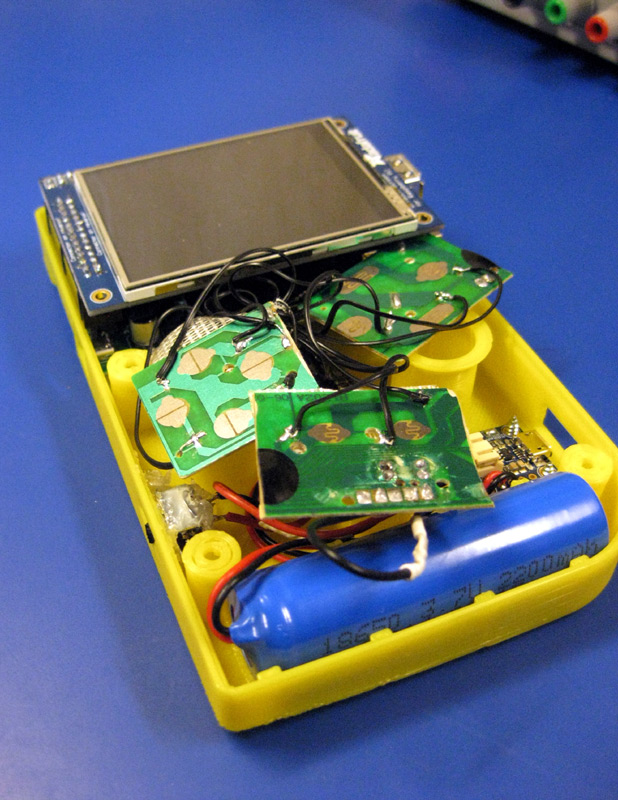
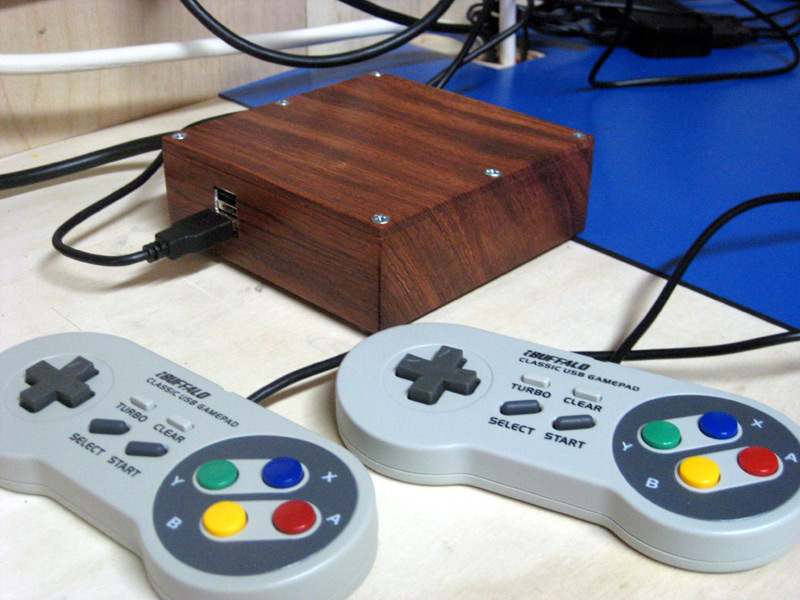
I've been working on another Raspberry Pi project while I try to decide how I want to proceed with the Gameboy. This little box is just about done. The box is made of a single, solid piece of bubinga, and houses a Raspberry Pi running RetroPie/EmulationStation. It runs all of the old console emulators - NES, SNES, Gameboy Advance, Gameboy Color, Sega Genesis - you name it. If it was out during the 80s or 90s, it probably supports it. I've got it setup with two USB-based SNES reproduction controllers, with extension cables long enough to reach the couch. As soon as I finish putting the rest of the ROMs on it, it is ready to move upstairs to the living room. I'll try to grab some "action shots" once I've moved it to its final home. too.

Caught In the Act!

The other night I opened the downstairs medicine cabinet to look for something, and saw this odd arrangement of the kids' toothbrushes. Does it look like they caught it the act of ... ahem ... making sweet toothbrushy love?


Stuff I’ve Printed So Far

Aside from the case for the Raspberry Pi-based Gameboy I've been working on (that I showed in an earlier post), here are a few examples of things I've been printing lately (note - all of these models are from thingiverse.com). The first photo shows some of the contents of a shelf near the printer. Each time I try out a new filament color, I use a low-poly Pokemon character to test out the filament and tweak the settings for that particular spool - it was Sean's idea. So far I've got a red Charmander, a blue Squirtle, a yellow Pikachu, and a green Bulbasaur. :)


This next item is one of the first genuinely useful things I've printed. It's a clamp that lets the kids attach their tablets to the tripod when they want to make videos. It sure beats their old method of propping it up with books and hoping it doesn't fall over while they are recording.


This next one is an articulated robot action figure. He actually prints all at once, and when the print is complete the arms, legs, and head all can move. It's a pretty ingenious piece of 3D modelling, actually. On mine his left arm broke off during printing, but he is otherwise fully functional.


And the last example shown here is a case for a Raspberry Pi (Model B). Hopefully I'll find (or model myself) a case for the Model B+ soon!


Selfies

Sean had never heard of a "selfie" before, and I explained to him what it was. He then proceeded to take a whole bunch. These are the best of the lot.


Raspberry Pi Gameboy

I've been working on a project with the Raspberry Pi to make a Nintendo Gameboy style handheld that can play all of the original NES games. It's based on this project over at adafruit. So far it has been going really well, but I've hit a snag with getting the controls to line up correctly with the cutouts in the top cover, and getting everything to fit correctly inside - it seems like I've always got at least one button that doesn't line up right and I've got to open it up all over again. I need to do a little more fussing with it before it will be finished. Stay tuned! too.

Tinkering Workbench – Evolution

My electronics workbench has been getting a lot of use lately, and I've been steadily adding to it since I first posted about it in May. This first photo is of the original setup, as a point of comparison.


Since then, I've added a lot. More tools, more shelves, more monitors, a bookcase - and I've started taking over the nearby basement shelves as well, to make space for an inkjet printer and my latest acquisition - a 3d printer. That thing has been a blast! I'll be posting a lot more photos of stuff I've been printing in the near future.

Carter’s Desk – Part 2

We've done a little more work on Carter's desk. It's got a top now, and the desk is assembled. It still needs paint - hopefully that will happen this weekend. The wood stacked up on the tablesaw behind the desk is for the cubbies that will go on the desk - they're all cut and ready for assembly - they just need a bit of sanding first. Hopefully we'll get to that this weekend too.

Galehead Hut Hike

Recently returned from an overnight hike to Galehead Hut. The route was North Twin, South Twin, and Galehead Hut on day 1 - then back to South Twin, My. Guyot, Zealand, the Zealand Falls Hut, and out on day 2. It rained on us the whole time, and every summit was socked in with no views. But I would still classify it as a good time! The hut was great - good food and good company. We got a chance to talk to some AT through-hikers too - some northbound, and even a southbound group. Below is a panorama of the view from North Twin - as you can see, not the best of viewing conditions!