Laundry Room Makeover

All the work we did in Carter's room inspired us to keep going with some of the other rooms in the new house that we'd been procrastinating about. For the laundry room, Lori picked a nice rich blue - which was a whole lot better that the unpainted, lumpy drywall that was in the there before! She also found that cool laundry sign at a shop up north. I added a milk crate to the wall to hold her supplies, and put up a long clothes rod for hanging things as they come out of the dryer.

Carter’s Room Makeover

Carter has been working on making over her room over the summer. We've already painted, and this corner is one of the other (many) things she's done. What I wanted to highlight is how much of this me made ourselves - the wood cookie side table was a project I mentioned a few posts ago, but Carter also made the two throw pillows on the chair, and the pouf-style ottoman in front of the chair. She's getting pretty handy! The photo at the bottom is another wood cookie side table we made for the living room, because we liked the one in her room so much.


Makerspace

In the old house I had my makerspace/tinkering workbench in a corner of the basement. It worked, but was a little space-limited. Plus, the kids would often want to hang out down there with me but they didn't have anywhere to sit or any space to do their own stuff - so they would hang out for five minutes, get frustrated, then wander off. But the new house had a finished room in the attic, so I built a bunch of work benches up there and now we've all got our own space to work. The family computer is up there too, plus a bench for Lori to do puzzles. It's been great! Sean especially loves it up there - he's actually camped out on the floor a few times since I finished it.


Kitchen Floor

The kitchen floor in our house has always been sort of a mess. It was 20-plus year old linoleum, and has seen a lot of abuse. Even when we first moved in, we wanted to replace it immediately. Every year I talk about replacing it over my Christmas break, but never do. Well this year I finally tackled it. I put down a floating laminate floor that looks like time - actually, it's the same flooring I put in our bathroom last Christmas break. It makes a world of difference in how the kitchen looks.

Bathroom Floor

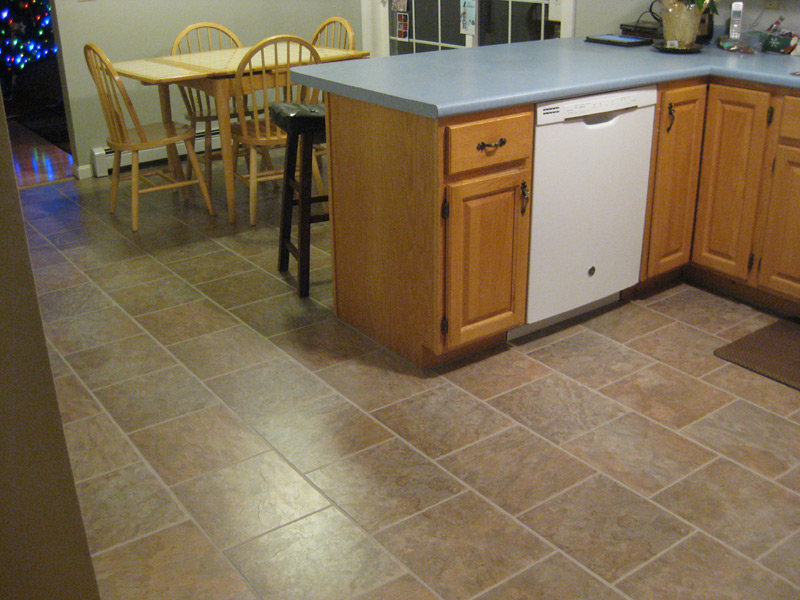
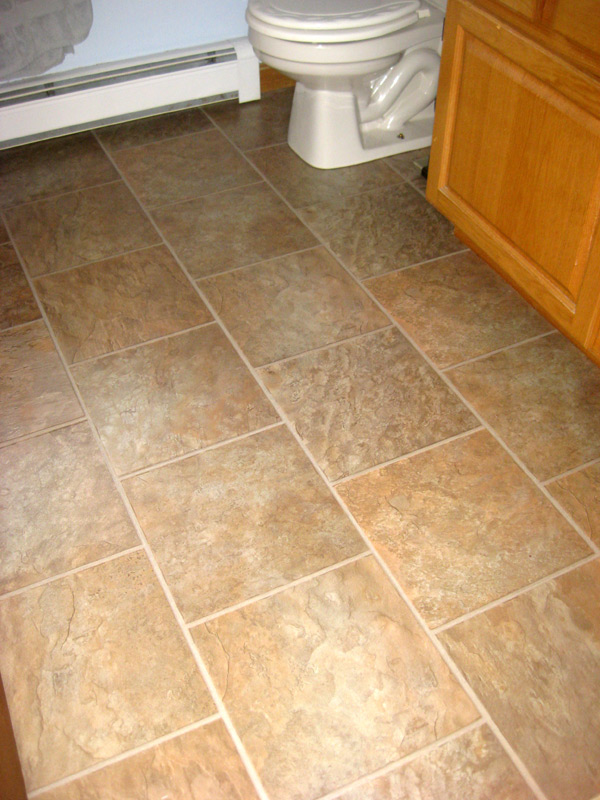
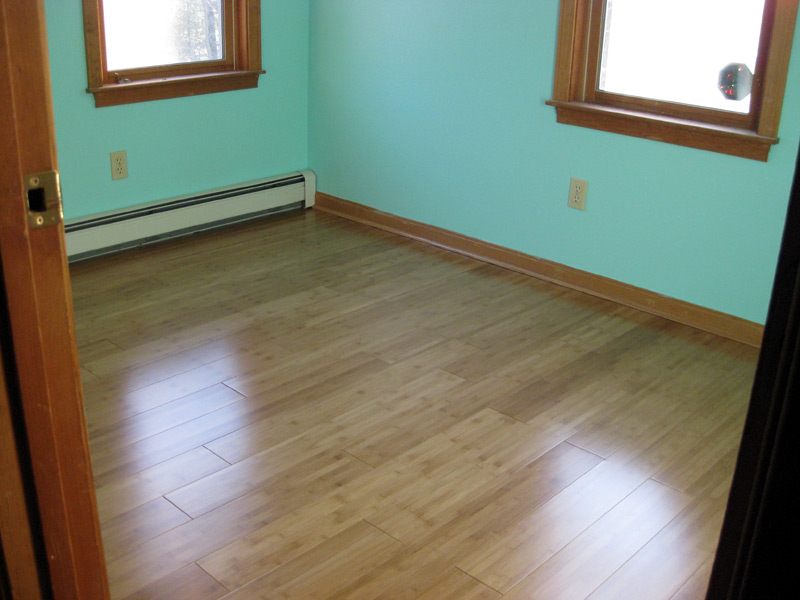
I recently replaced the upstairs bathroom floor - partly because the old floor was hideous and in terrible shape, and partly as a test case for the kitchen. If this flooring holds up well in the bathroom, I plan to put the same stuff down in our kitchen in the spring/summer timeframe. It's been in there for a month or so now, and has had no problems so far. It's an engineered laminate flooring that is supposed to look like tile. I thought the seams would be obvious, but they're pretty good. From sitting or standing height, you can't see them. You have to get all the way down on hands and knees to find them.

Carter’s Room

Carter and I completely reworked her room recently - we just finished. We painted the walls, put her old bed back, and tore up the carpet and replaced it with a solid bamboo floor. It's nice and bright in there now. And a lot more girly, as you can see. Not to mention cleaner!


Family Tree

This is a project I had seen online a couple of years ago, and have always been itching to do. I painted a tree on the wall behind our couch, then printed out a bunch of black-and-white photos of family members to hang on it. It came out better than I had anticipated. But I still need to get a few more matching frames and add a few more photos. Turns out I could fit more than I thought I would be able to without it feeling cramped. I figure another three or four should round it out.

Kid’s Picnic Table

Built a picnic table for the kids on Saturday. Lori had wanted a nice spot for them to eat outside - and do all of the things that make too much of a mess to do inside.

Bike Trail – Bridge

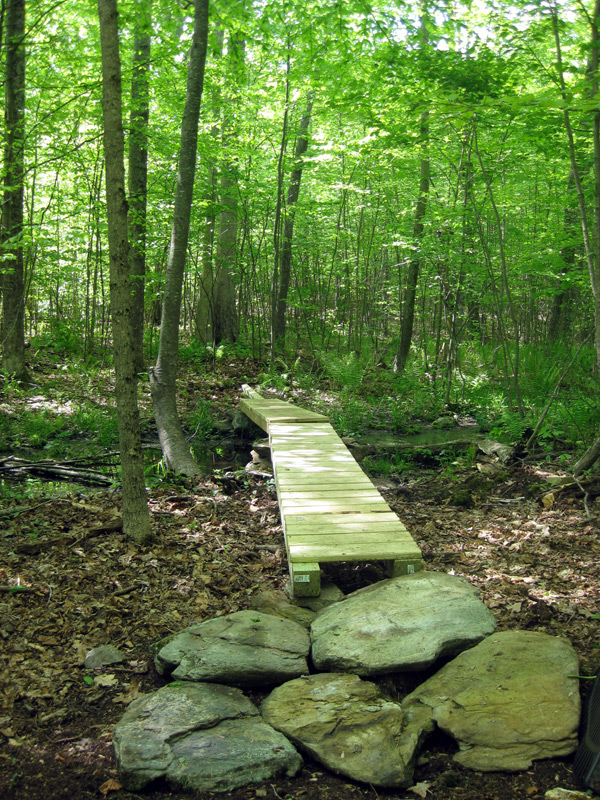
I've been working on cutting a bike / walking trail through our back woods, and have started to build a little bridge across a swampy spot near the cabin. It's not finished yet, but I wanted to share a picture of the progress. So far, building the bridge has been easy - but finding, lugging, and arranging the stones that I've used as footings was the killer. I wanted them to be big enough to not shift once I'd put them in place, which meant that they were at the absolute upper limit of what I can carry alone. Whew!

Cabin: Door and Soffits

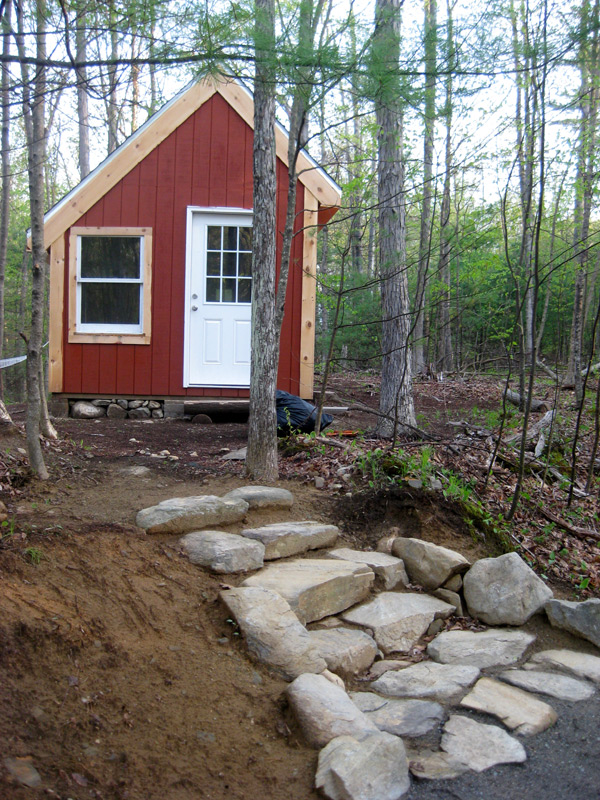
I've finished installing the door and boxing in the soffits. On top of that, I've also finished staining the main part of the exterior walls - just have the trim to do now. But first I've got to caulk the heck out of everything - there are lots of little gaps around, due to all the little mistakes I made during building. But that was the one of the main points of building this cabin - to learn, so that next time, when we buy a piece of land somewhere and build ourselves a little getaway, I can do a much better job.