


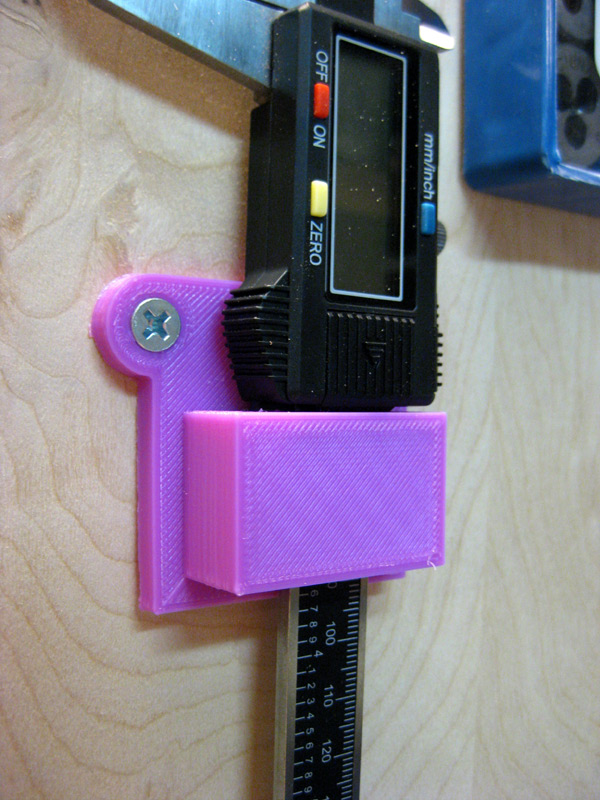
3D-printed a wall-mounted holder for my digital calipers today. Nothing fancy, but it gets the job done and keeps them in easy reach. You can't see it, but it's in even got a little cutout for the caliper's micro-adjustment wheel.
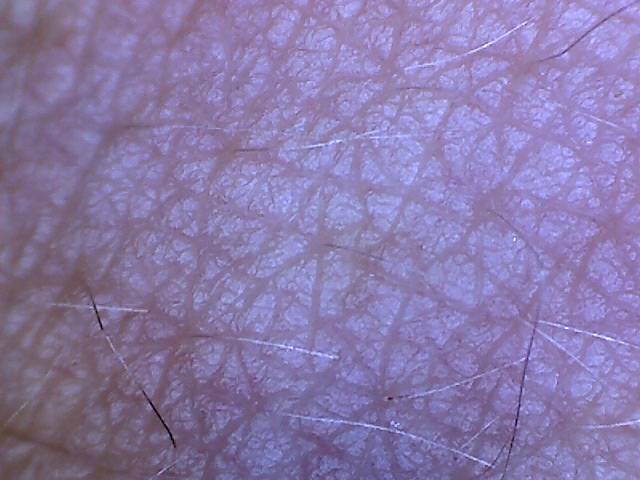

A: Back of the hand.
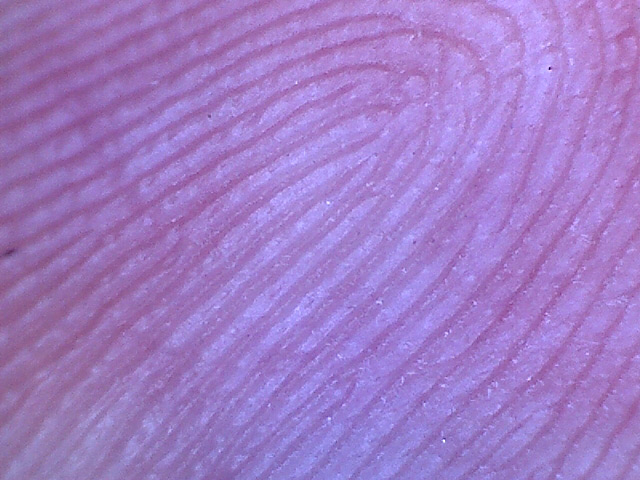
B: Fingertip.
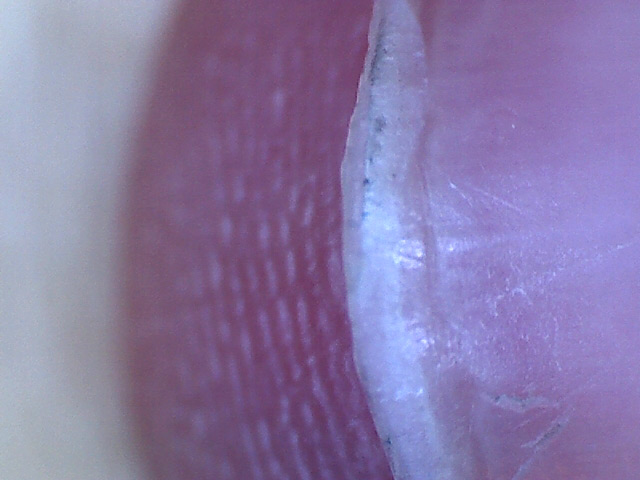
C: Fingernail.
D: Elbow.
E: Tongue.