Sign for the Workshop

Over the weekend I used the laser engraver to make a sign for the workshop. Took a few tries before I finally eliminated most (but irritatingly, not all) of the binding issues I was having with the table axis. But I very rarely get any binding now. Probably still needs a few minor adjustments, but I might just call it 'done' for now.


New Microscope

I got a new small USB microscope for checking solder joints and such. But Sean and I have been playing with it for other stuff too. For fun, we took a bunch of photos of different areas of his skin, and he wanted to quiz you guys and see if you could guess which part of his body each picture came from. The answers are after the photos, so don't look if you want to guess first!


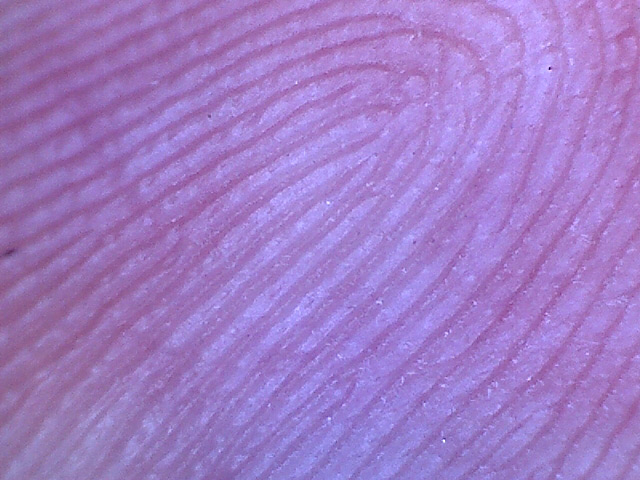
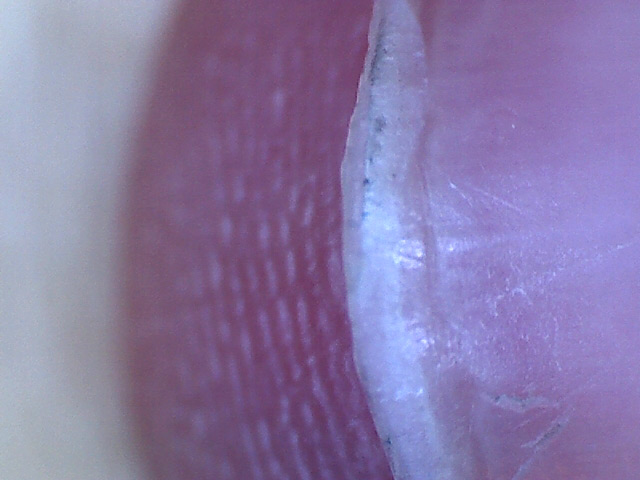
A: Back of the hand.
B: Fingertip.
C: Fingernail.
D: Elbow.
E: Tongue.

Random 3D Prints

I printed a random things recently. The red keys on the right are for getting the all of the toothpaste out of a tube - you just twist up the tube on the key as you go. The print on the right is a small puzzle box I designed on paper years ago. I found it in an old notebook and decided to try to model in SketchUp and print it. Both of the green keys ride in dovetail channels, so they can both slide along their respective axis. A channel along the bottom of the smaller key engages with a pin on the blue box's body. You have to slide the two green keys in the correct pattern to move the pin through the channel until the keys can be freed and you can get access to the interior of the box. Maybe sometime soon I can make a short video showing how the box opens.


Stuff I’ve Printed So Far

Aside from the case for the Raspberry Pi-based Gameboy I've been working on (that I showed in an earlier post), here are a few examples of things I've been printing lately (note - all of these models are from thingiverse.com). The first photo shows some of the contents of a shelf near the printer. Each time I try out a new filament color, I use a low-poly Pokemon character to test out the filament and tweak the settings for that particular spool - it was Sean's idea. So far I've got a red Charmander, a blue Squirtle, a yellow Pikachu, and a green Bulbasaur. :)


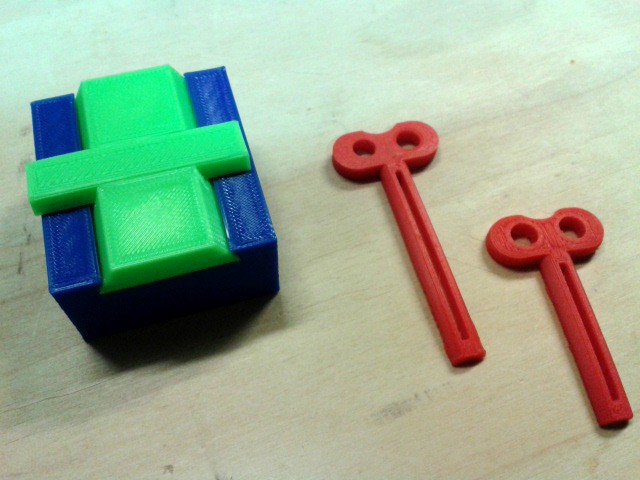
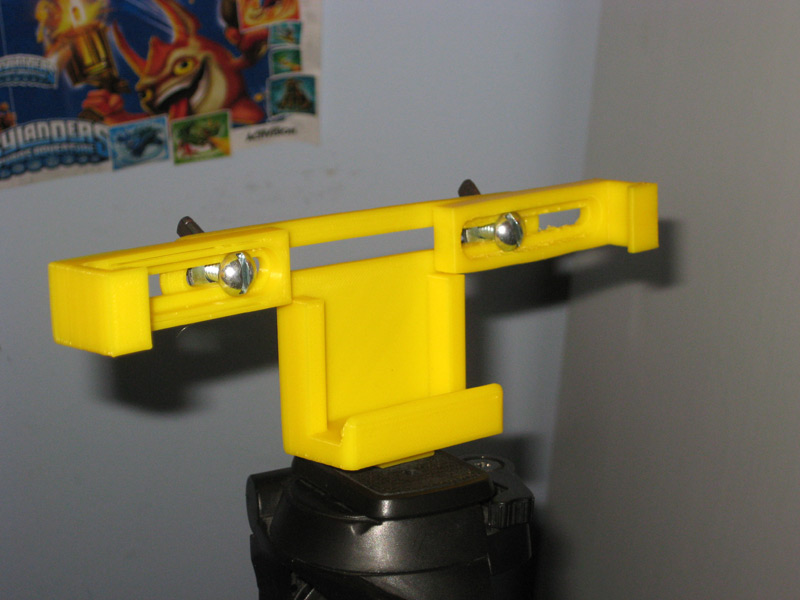
This next item is one of the first genuinely useful things I've printed. It's a clamp that lets the kids attach their tablets to the tripod when they want to make videos. It sure beats their old method of propping it up with books and hoping it doesn't fall over while they are recording.


This next one is an articulated robot action figure. He actually prints all at once, and when the print is complete the arms, legs, and head all can move. It's a pretty ingenious piece of 3D modelling, actually. On mine his left arm broke off during printing, but he is otherwise fully functional.


And the last example shown here is a case for a Raspberry Pi (Model B). Hopefully I'll find (or model myself) a case for the Model B+ soon!


Rock Tumbler

I got Carter a rock tumbler for Christmas, and we've been running it non-stop since then. We finished our third batch of rocks today - each batch takes about a week at each grit, for a total of about four weeks per batch. This last batch was a bunch of agates and jaspers from Mexico. They came out really pretty, as you can see.

Leprechaun Trap

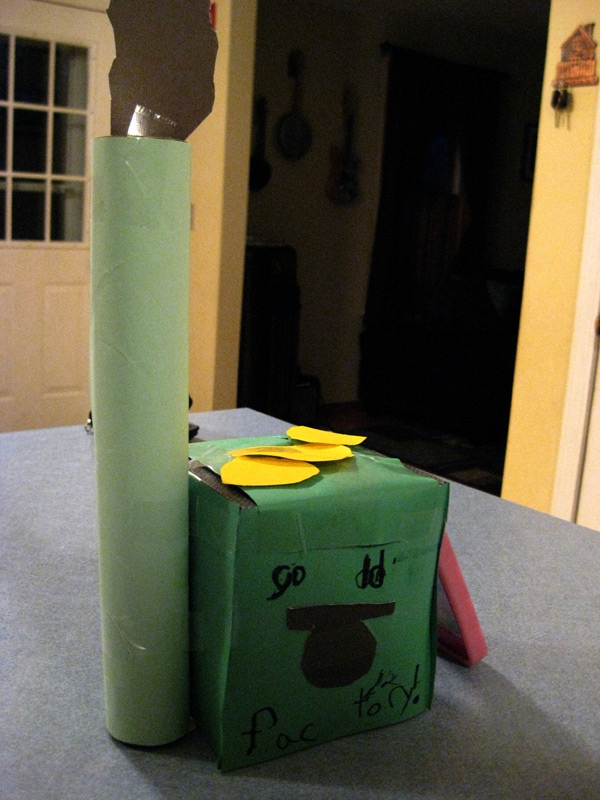
Carter built a leprechaun trap again this year for St. Patrick's Day. This time she said it was disguised as a "gold factory", complete with cooling tower - where they apparently manufacture gold. Still no luck with catching him this year, but he did leave behind some gold nugget bubblegum.

Bike Work Stand

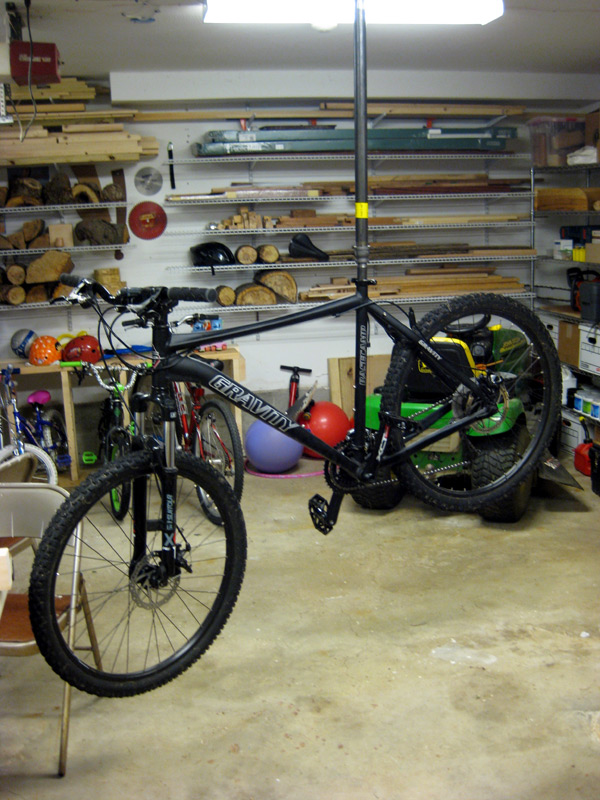
Can I still call this a work 'stand' if it doesn't actually stand on the ground...? Lately I've been needing to adjust both my front and read derailleurs, and have been trying to figure out how to jury-rig a work stand without shelling out a couple of hundred bucks for a half-decent one. I read a few ideas online this morning, one of which mentioned that 3/4" black steel plumbing pipe is actually the exact same diameter as a seat post. Bingo! What I did was attach a 1" pipe flange to the main beam that runs through the garage, and I threaded a 30" x 1" pipe into it. At the end of this pipe is a 1" to 3/4" reducer coupling and then a 6" length of 3/4" pipe which I slide into the frame and clamp using the seatpost. It's very rigid and sturdy, and when I'm done working on the bike I can just unscrew the whole thing from the pipe flange and put it on a shelf!